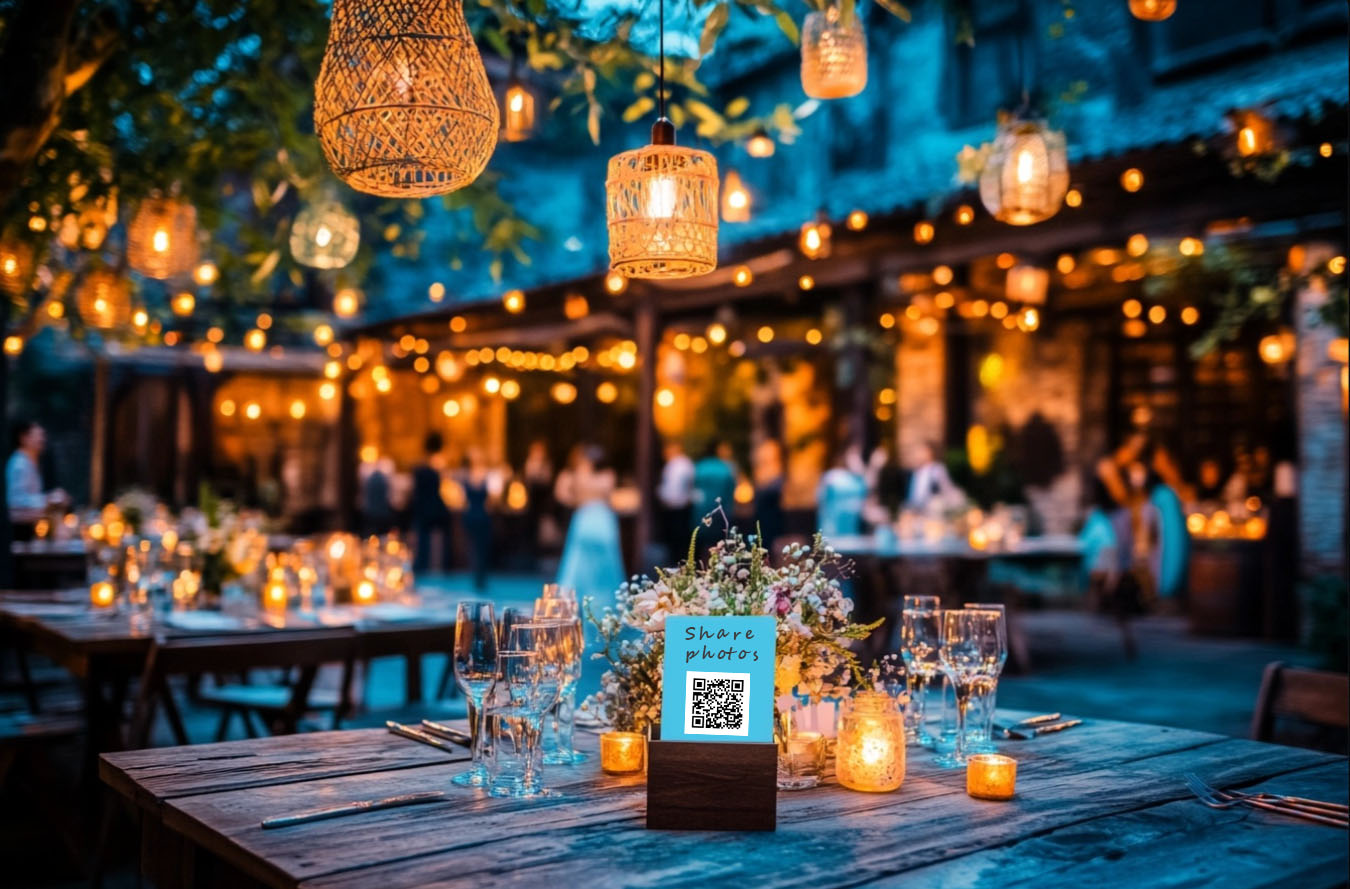
Ever been to an amazing event and wondered: "Where are all those photos everyone was taking?"
We've all been there. Your friend's wedding, a milestone birthday, a family reunion, or even just a spontaneous road trip. Everyone's snapping away, but somehow, those precious moments end up scattered across dozens of phones, rarely to be seen again.
Good news: there's a simple solution that costs exactly zero dollars.
Here's my budget-friendly method to collect every photo from your special event:
Step 1: Create a shared Google Photos album
- Open the Google Photos app or visit photos.google.com
- Click Albums, and then the Create album button.
- Give it a name and select the first photos. Creating a poster with instructions in Canva and uploading that can be a good idea.
- Click the "Share" icon in the upper right menu, then Create Link.
- Copy the link and keep it on the clipboard. This is now a public link that anyone can use to contribute
The beauty of this method is that your contributors don't need to be added individually. Anyone with the link can add their photos!
Step 2: Create a QR code for your album link
Now comes the magic part – turning that long, impossible-to-remember link into something guests can easily scan:
- Head over to livewall.no/qr-generator
- Paste your link and generate a QR code
- Tune the colors to match your designs. Make sure you test the QR code if you go crazy creative.
- Download your new QR code image
This QR generator is completely free with no hidden costs or watermarks. One scan and your guests are instantly at your shared album!
Step 3: Design beautiful instruction cards
This step elevates your photo collection game:
- Go to Canva.com and create a free account if you don't have one
- Search for "business card" or "small card" templates
- Upload your QR code image
- Add a friendly message like: "Snap a pic? Share it here! Scan this code to add your photos to our collection"
- Print these cards (you can use home printers or budget printing services)
Pro tip: Place these cards on tables, near food stations, or hand them out during the event. For weddings, include them in invitations or place settings.

Step 4: Guide your guests (gently!)
When your event starts, make a brief announcement explaining: - You'd love to see everyone's photos from the day - Scanning the QR code takes them straight to a shared album - They can upload photos directly from their phones - Everyone can view the complete collection afterward
Remind them that the process takes seconds, not minutes. The easier you make it, the more photos you'll collect!
The result? A treasure trove of memories
After your event, you'll have a comprehensive collection from every angle and perspective. Those candid moments you missed, the behind-the-scenes fun, and all the little details that made your day special – all in one place.
From there, you can: - Download the entire collection - Create physical photo books - Share the album with everyone who attended - Back everything up for safekeeping
One important note: This Google Photos method requires everyone to have a Google account. While most people do, it might be a barrier for some guests.
If you're looking for an even simpler solution where guests don't need any accounts, check out LiveWall. It's a purpose-built platform specifically designed for event photo collection, and has a free trial so you can evaluate it and compare it go the Google Photos method. But honestly, the Google Photos + QR method above works perfectly for budget events!
What's your go-to method for collecting event photos? Have you tried using QR codes before? I'd love to hear your experiences at c@livewall.no.
What do you think?
Your thoughts help us improve and serve you better. Please take a moment to share your thoughts and ideas on how we can improve.
